
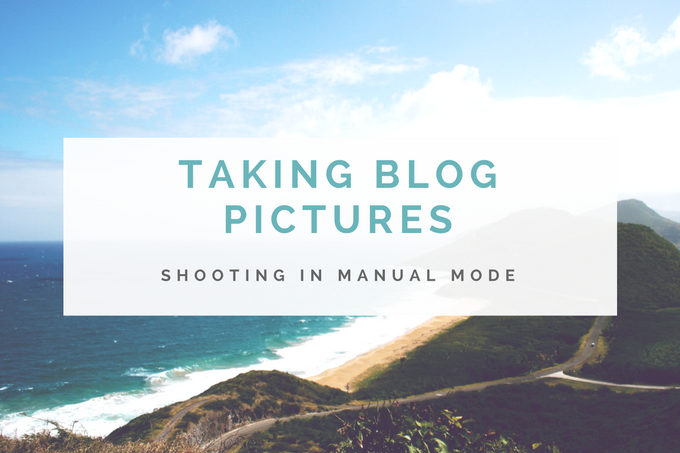
As already announced in my last post „My Cameraequipment“, I want to offer you some tipps about photography in the manual mode. I have to admit, that I just started taking pictures in manual Mode, even though I own a very good and professional camera. If you want to take great pictures and use the whole capacity of your DLSR, then you need to get to know it and its settings or at least learn about the basics. If you missed my last post and you want to get a good camera, than take a look at the post above. I also linked all my lenses + helpful example pictures. I also want to mention again that I “learned by doing” and that I didn’t visit a photography course. These are only my experiences.
Exposure Duration/Shutter Speed & Shutter
- Shutter
With the shutter (the „f“ specification on your lens) you can control how much light comes through onto the image sensor. The tinier the number, the more open the shutter – the more light comes onto the sensor. The more you open the shutter, the more depth of focus. If you did not understand yet: With the „f“ index you can control the depth of focus, which means that if the background is sharp or blurry.
- Exposure duration/Shutter Speed
The name speaks for itself: This is the duration of the light falling onto the sensor. The longer you expose, the more your camera can absorb light. (th index looks like this 1/200 or 1/600). If you want to take pictures of fast movements you need a short exposure time. If you want the movements to blur into each other you need a long exposure time. And if it’s dark, the exposure time has to be higher. You will also need a tripod for this otherwise the pictures won’t be sharp.
Light
- ISO/Film sensitivity
You certainly have found the settings for „ISO“ on your DLSR. The ISO has a high influence on your picture as well. You can control the sensitivity of your sensor with this seeting. So if it’s dark and the exposure time is already high, you can also regulate the ISO. The disadvantage is that if you choose a high ISO there will be image noise. An ISO until 400 is usually ok for taking pictures without image noise (this depends on the camera though). Just try it. Take a picture with a low ISO value and the same picture with a high ISO value to see the difference.

- Goldenhour
Good light (not artificial) is a requirement for beautiful pictures. Look out that it’s not too sunny – harsh shadows don’t look good. It’s the best if it’s sunny, but cloudy. Otherwise I can recommend a white wall, a house with lots of windows. If it’s too cloudy, use a reflector white the golden part to create some warmth. You might as well change the white balance. I’ll show you in the next part of this post. If you like to play with the light, take some pictures in the Golden Hour, when the sun is already low. Or take pictures with backlight to create some magical lighning effects. If you take pictures in RAWinstead of JPG you can also do a lot postproduction. I take picturesin JPG and I’m happy with it.
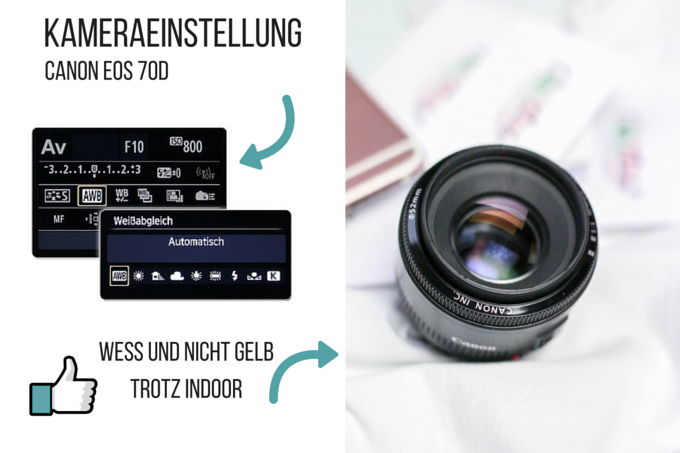
White balance
Regulating the white balance means to adapt the temperature of the color in your picture. Why? You might have already took a picture indoor, which had a yellow touch even though the walls are white. Not only the brightness of the light is changing, ist wavelenght and color does too. That’s why the white balance has to be adapted. This sounds more complicated then it is. Just take a pictures of a white wall or papersheet and change the settings (see the picture).

Leave A Comment